User guide
When you turn on DiveIno the Main Menu is displayed on the screen:
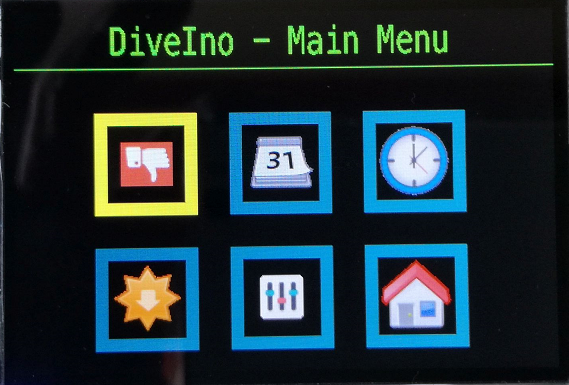
There are six icons on the screen, which represents different functionality:
The selected menu item is highlighted with a yellow border.
Navigation
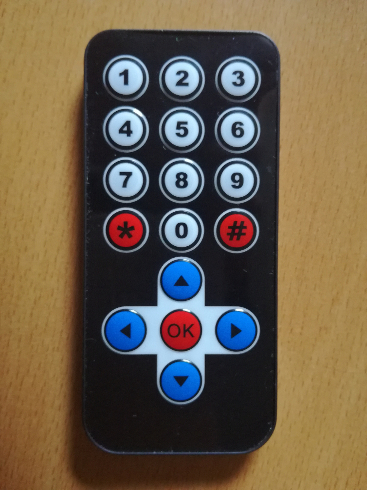
Navigation in the DiveIno menu system must be done with an Infrared Remote Control. In the Expected cost post I recommended the 17-Key IR Remote Control. In real life it looks like this:
The IRTest post describes how such a remote control can be attached to an Arduino based project like DiveIno.
The Up, Down, Left and Right buttons are used for navigation in the menu.
The OK button is used for selection.
Usually you can move one level up in the menu hierarchy with the Up button or with the OK button.
The # button can be used for cancellation.
The digit buttons are used to display the right section of the dive profile.
Settings

DiveIno supports the following settings:
- Sea level - Air pressure in milliBar on the sea level - default: 1013.25
- Oxygen % - Oxygen rate in the breathing gas - default: 0.21 = 21%
- Sound - Turns sound on and off - default: On
- Units - Switch between metric and imperial units - default: Metric
You can change these setting with the Left and Right arrow buttons.
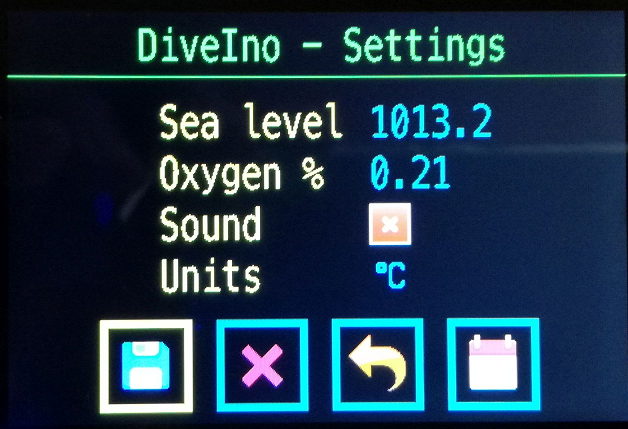
On the Settings screen you have the following options:
Besides the Cancel menu item, the # button leads back to the Main Menu without saving the modifications.
The * button sets the sea level pressure setting based on the current reading from DiveIno pressure sensor.
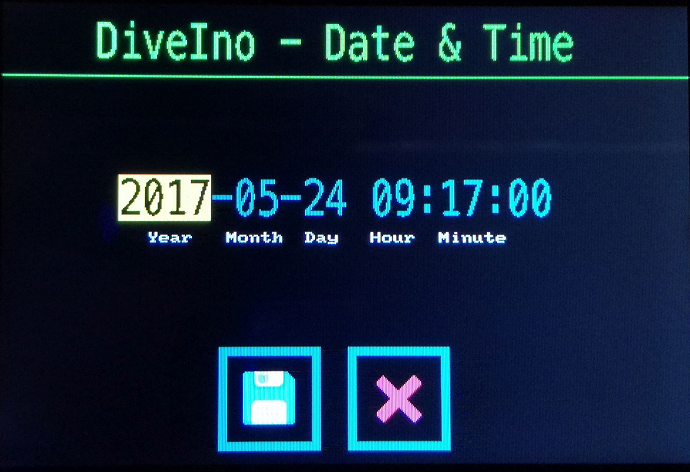
On the Date & Time Settings Screen the current date and time can be set. The following options are available here:
It is strongly advised to set the correct values at the first time, when your DiveIno was turned on.
Logbook
Under the Logbook menu two screens will be displayed:
- Logbook summary screen
- Dive details screen
You have to use the Down and Up buttons to navigate between these two screens.
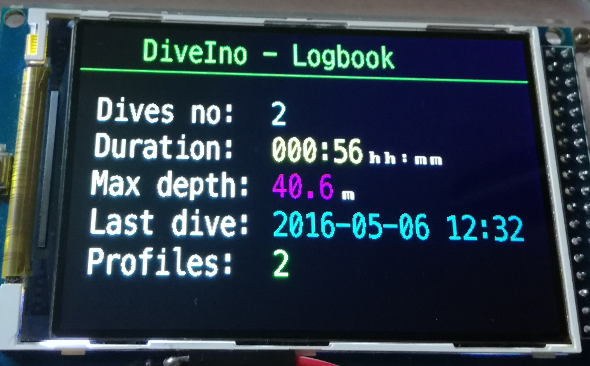
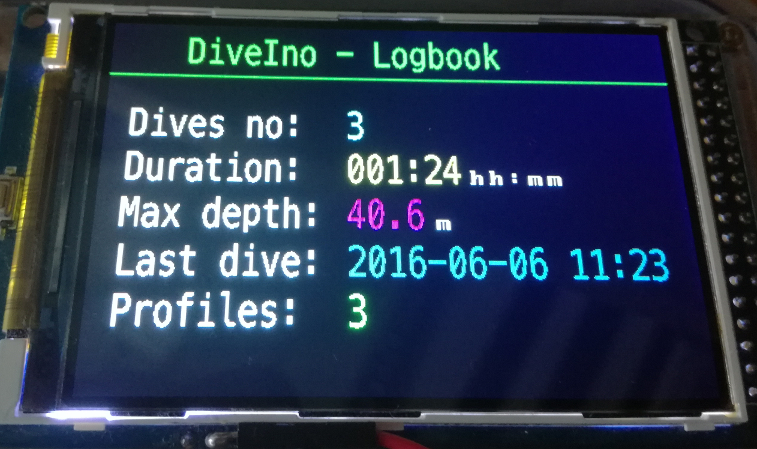
The Logbook summary screen displays the following information about all dives were made with DiveIno:
- Dives no - the total number of dives
- Duration - the total number of hours and minutes dived with DiveIno
- Max depth - the overall maximum depth made of all dives
- Last dive - the date and time of your last dive
- Profiles - the number of stored dive profiles
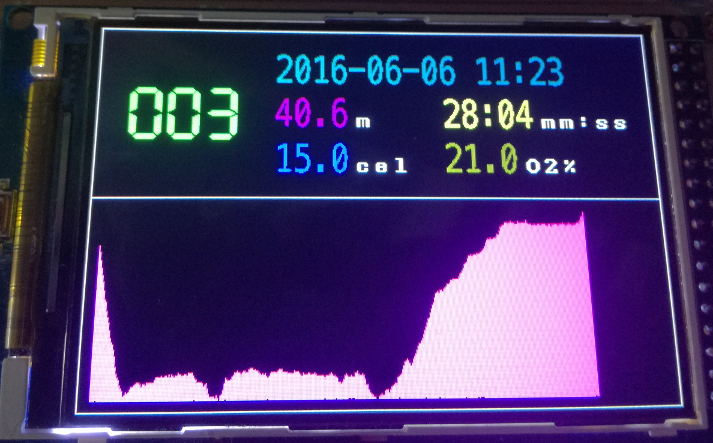
For each dive profile there is a dive details screen:
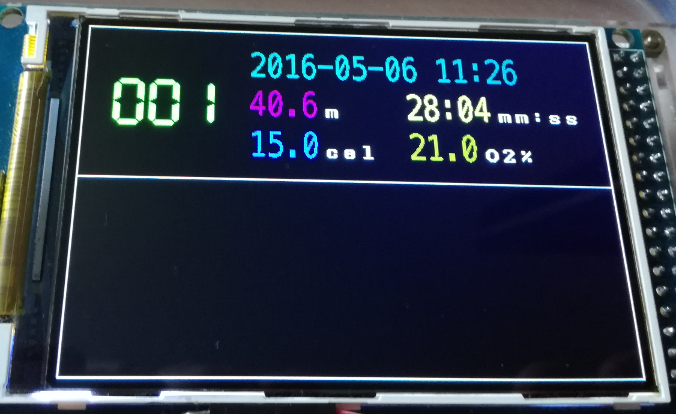
It displays the following information of the dive:
- Actual date and time
- Maximum depth
- Minimum temperature
- Duration in minutes and seconds
- Oxygen percentage of the breathing gas
Every dive has a profile diagram. If the numeric buttons get pressed, DiveIno draws it onto the screen:
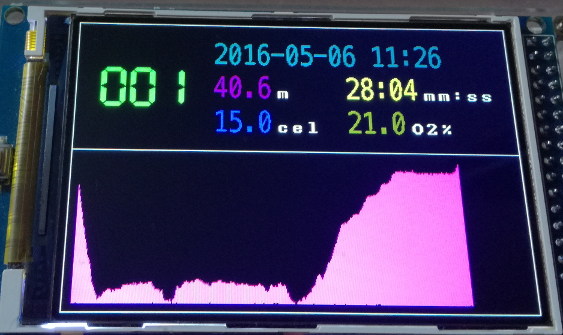
For instance if 1 was pressed the first part of the profile is displayed. The 2 button leads to the second part.
You can navigate with the Right and Left buttons among the dives. The last dive in the row is the latest dive. The Up arrow leads back to the Logbook summary screen
Gauge mode
In gauge mode the decompression algorithm is not active. It can be considered as a limited dive mode. Only the following information will be visible on the screen:
- Temperature
- Water pressure
- Depth
- Duration of the dive
- Date and time
- Battery charge percentage
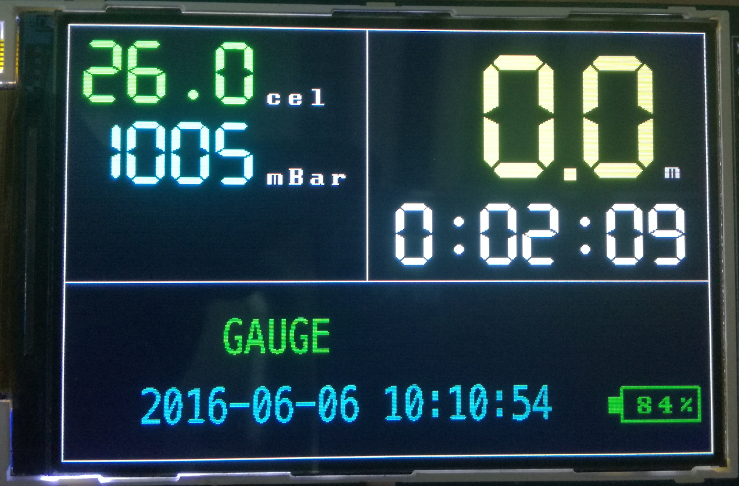
In this mode no dive profile gets saved.
The Ok button leads back to the Main Menu.
Dive mode
During the dive DiveIno has to be used in Dive mode. The actual dive related calculations will start, if you are about 1.2 meter below the surface. Until this happens the following screen gets displayed:
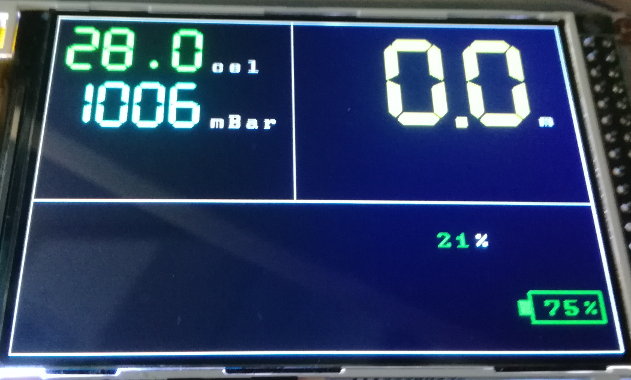
It indicates that the dive duration calculation hasn’t been started.
In order to be able to demonstrate DiveIno capabilities in dive mode, a real dive gets simulated.
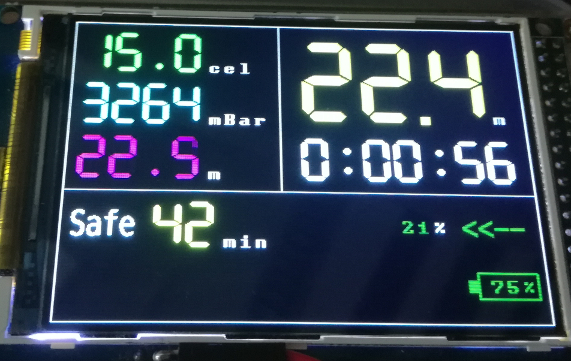
During the initial descent phase no deco time will gradually decrease:
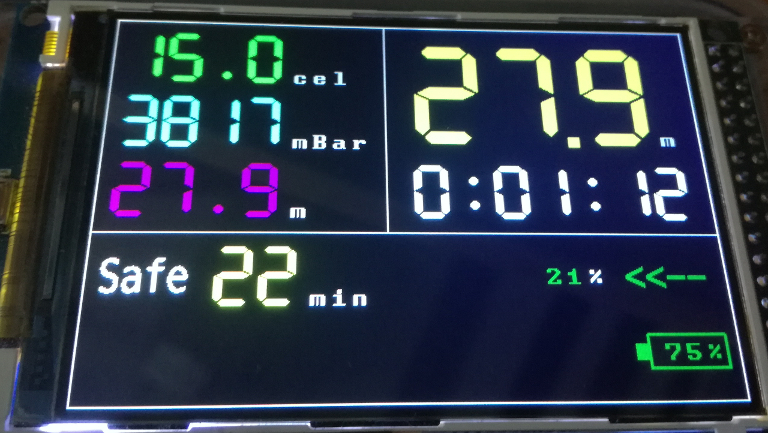
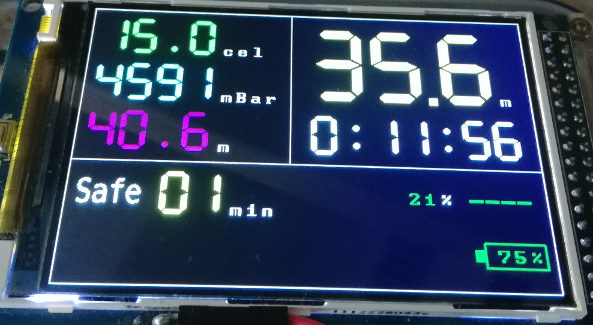
After a while if no ascent was started DiveIno enters into deco mode and the required deco stops will be displayed:
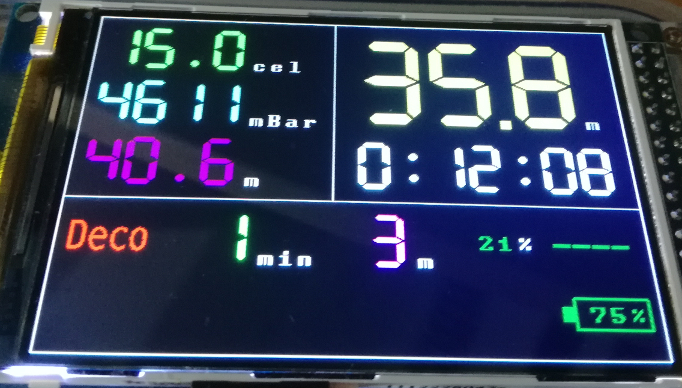
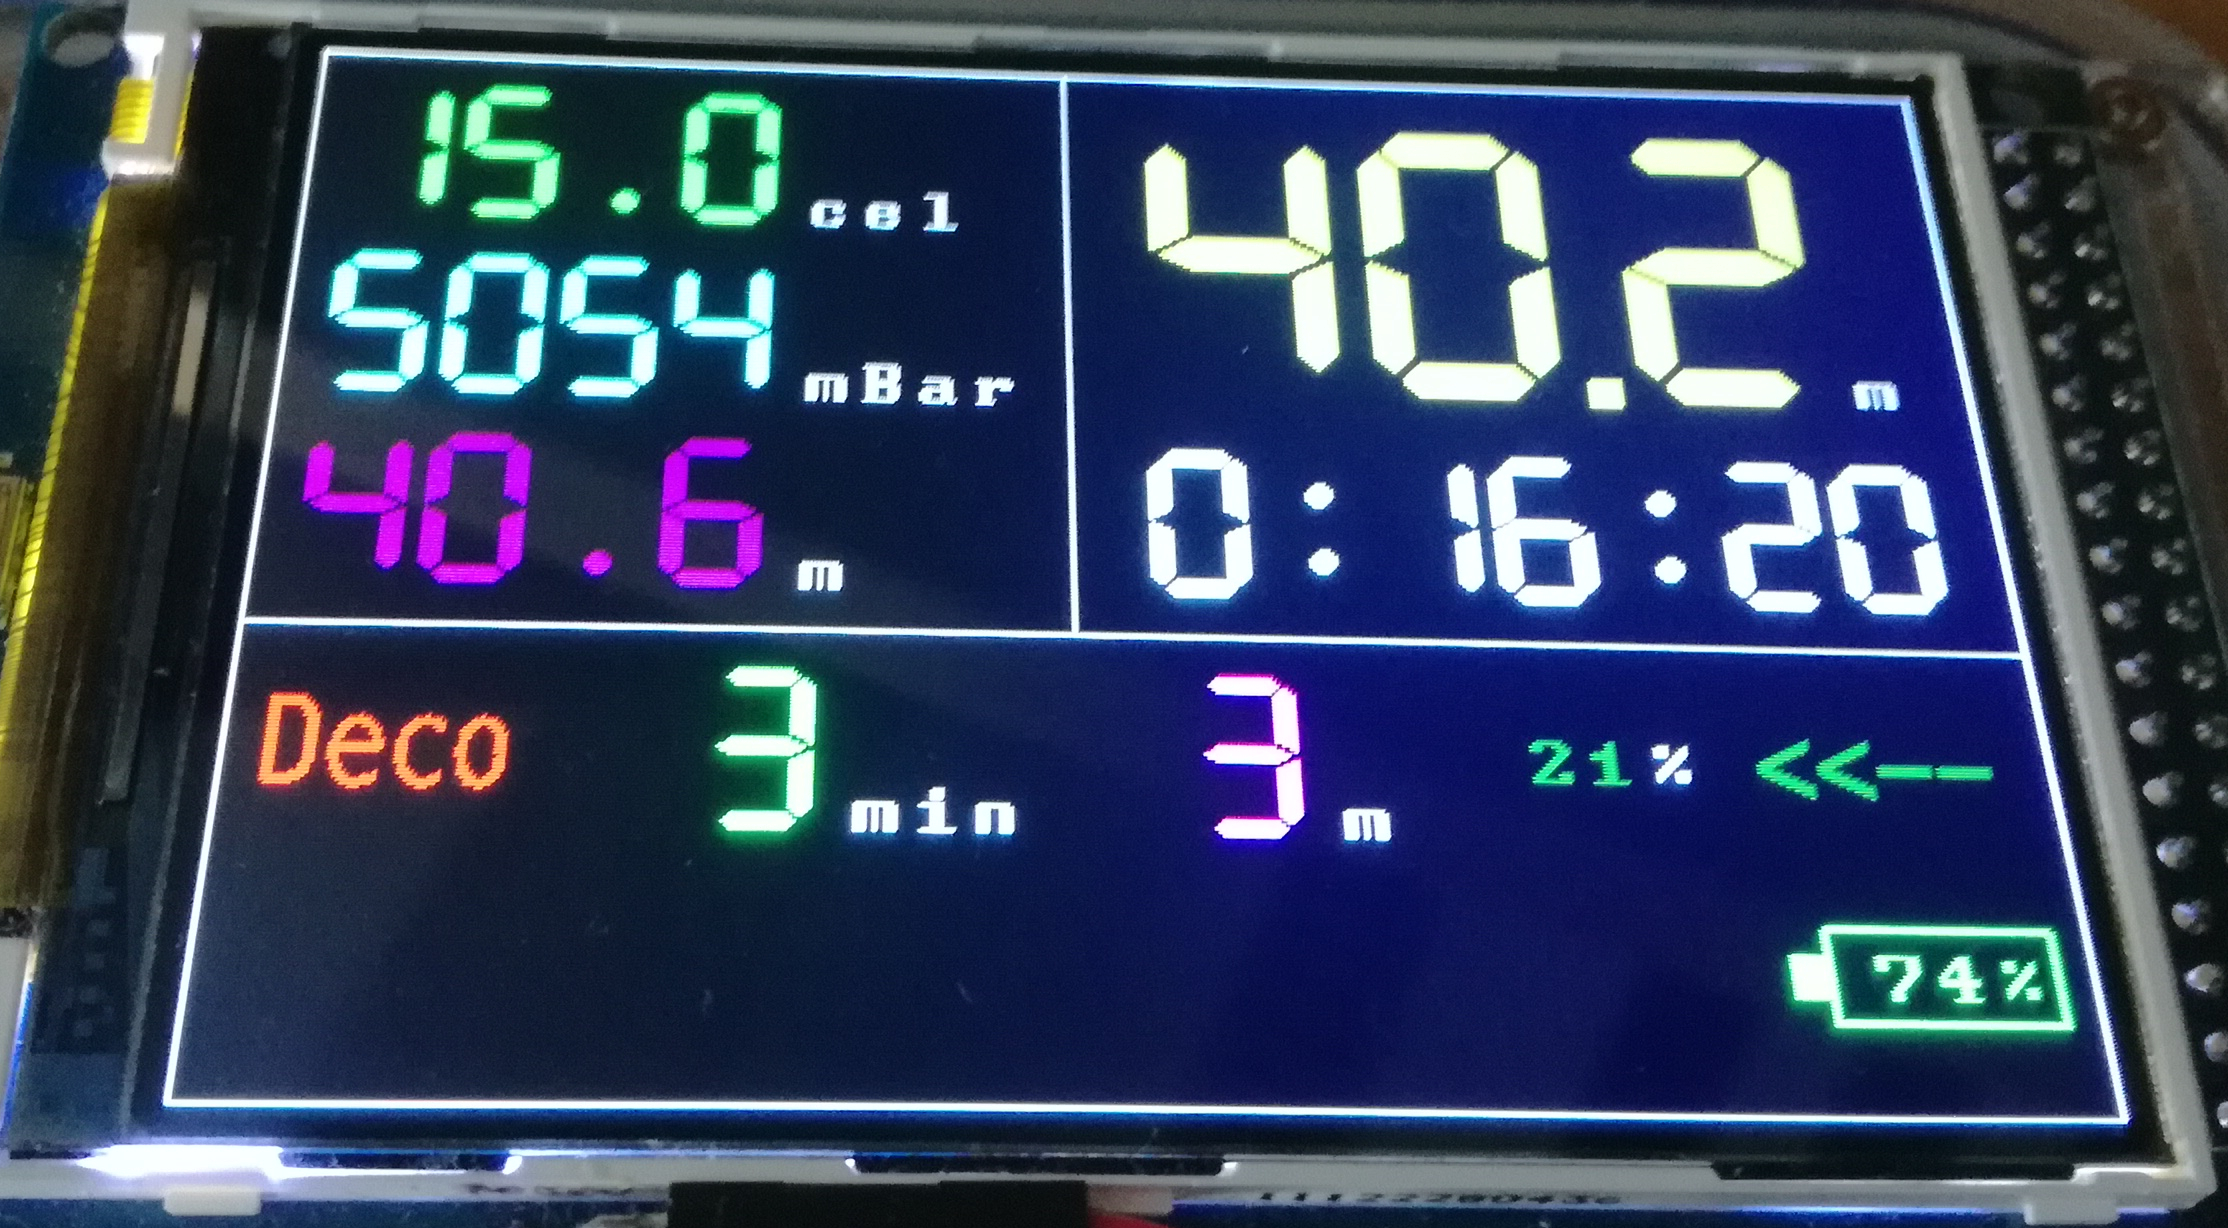
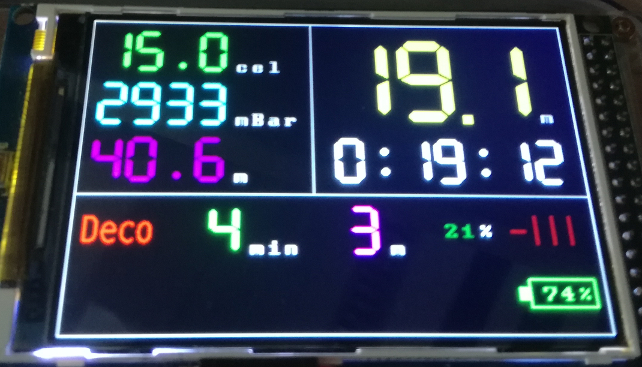
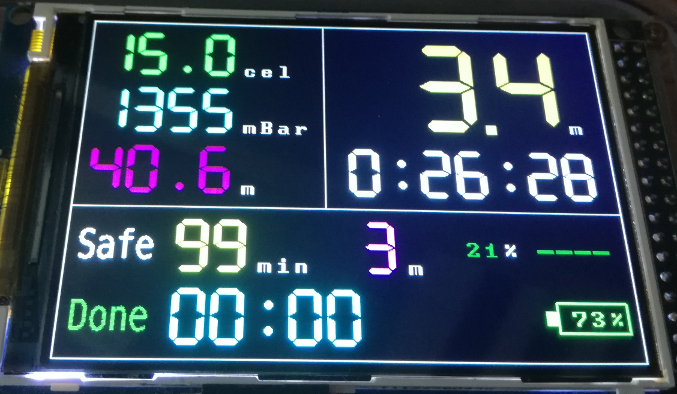
Finnaly the ascent phase of the dive was started, which means that additional deco time won’t be accumulated:
Between 6 and 3 meters the Safety Stop indicator displayed on the screen. It will count back from 3 minutes:
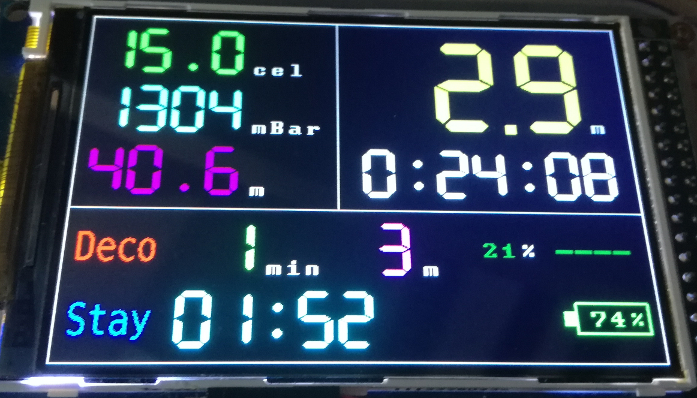
Please remember that during the dive DiveIno indicated the necessity of a deco stop at 3 meters. Once it expires the Safe sign gets displayed with the no deco time:
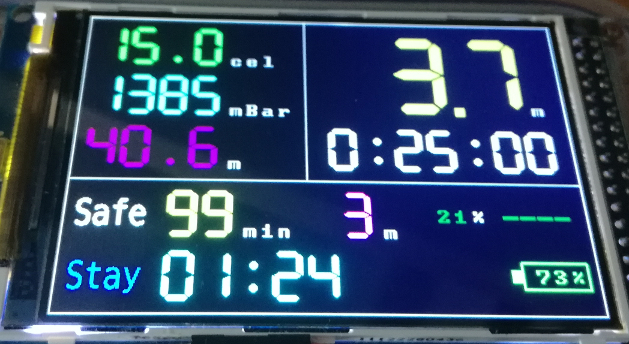
After the 3 minutes safety stop the diver can ascend to the surface. DiveIno displays the following ascent rates during the dive:
- <<– - Descent
- —- - Maintain depth
- —| - Slow
- –|| - Normal
- -||| - Attention
- |||| - Critical
- SLOW - Danger
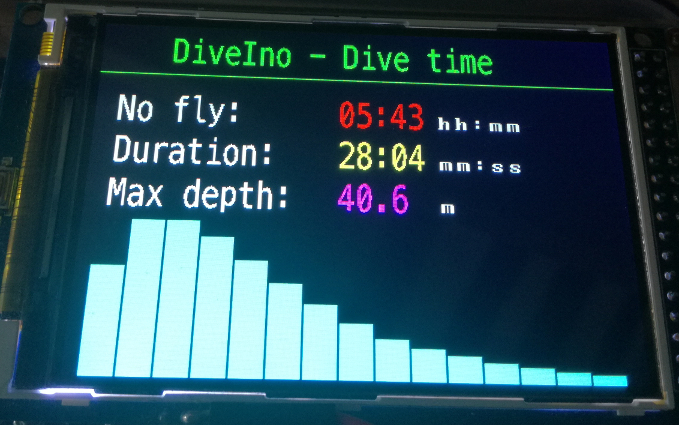
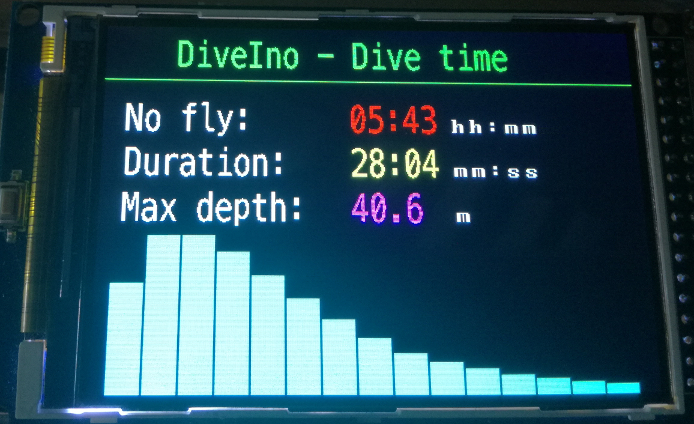
Once the dive is completed DiveIno displays some details about the dive on the surface:
- No fly time
- Dive duration
- Maximum depth
- Compartment saturation levels
Certainly the new dive will be registed into the Logbook:
The profile can be viewed on DiveIno or with external tools - see Integration with other dive software
Surface Time
Within 10 minutes of the last dive completion on the Surface Time screen the details of the last dive is displayed.
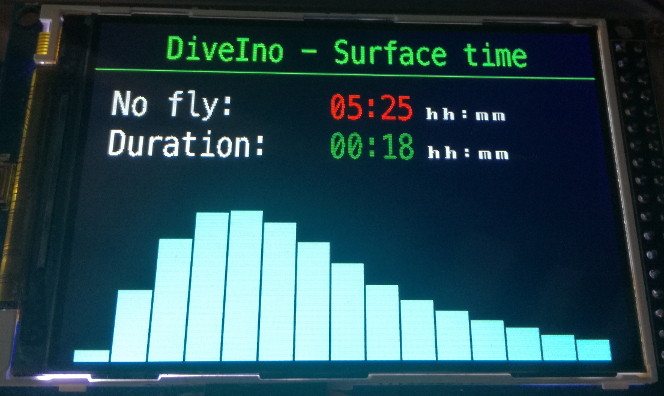
After the 10 minutes period, the current No fly time and the surface interval duration gets displayed:
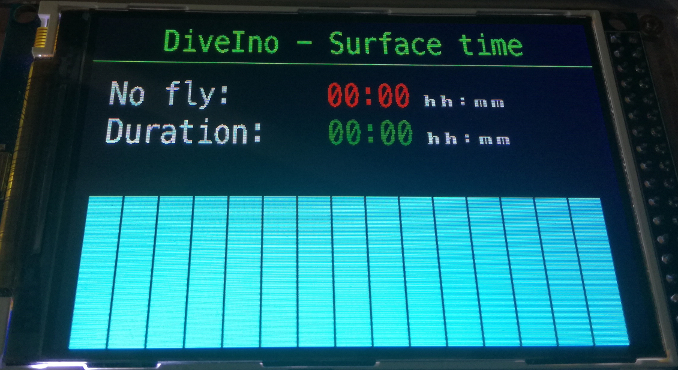
After 48 hours of the last dive, DiveIno finishes surface time calculation and displays the following screen:
About
The About screen displays the following information:
- DiveIno version number
- DiveIno website
- Current date and time
- Battery charge indicator


