Assembly - Watertight case
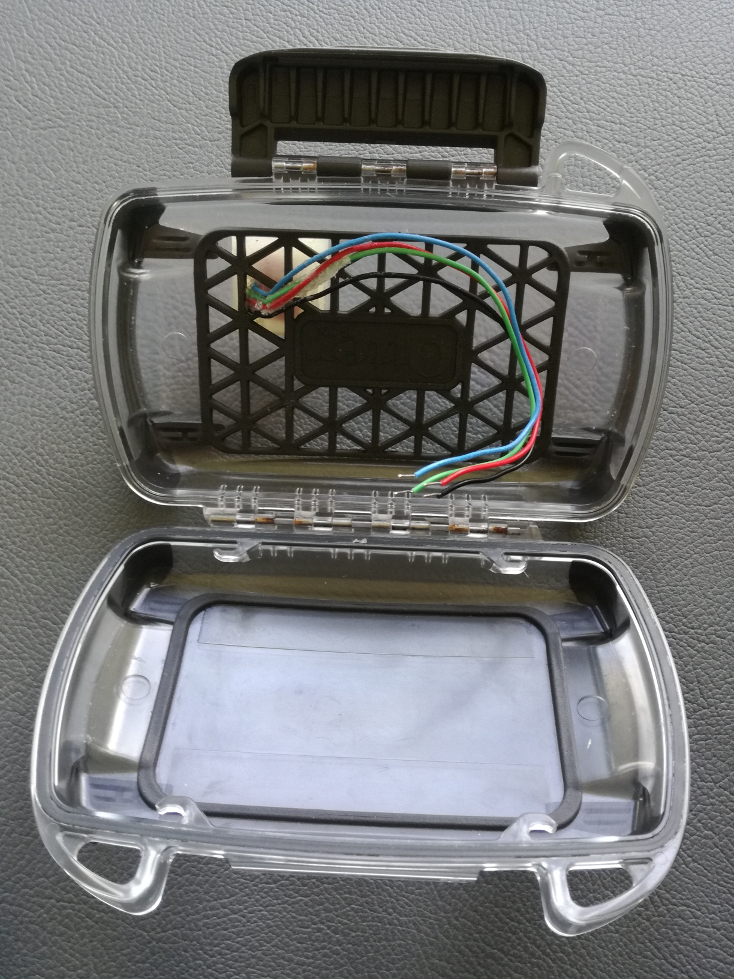
Your DiveIno has to be placed into an Otterbox Pursuit 40 watertight case. It is water resistant up to 30 meters (100 feet), therefore it is a good candidate for recreational scuba diving. The LCD screen has to be visible from outside, so the clear version has to be used.
The pressure of the surrounding water has to be measured somehow in order to be able to calculate the current depth. The MS5803-14BA pressure sensor, which can be found on the SparkFun Pressure Sensor Breakout and CJMCU MS5803 14BA Pressure Sensor Breakout boards has to directly contact with water to be able to do such measurement. This implies the followings:
- The water has to be directed to the sensor cup
- Water tight seal has to be applied to protect the electronic components on the breakout board
- The breakout board has to be underpinned, because the PCB can’t stand the water pressure
- The wires from the breakout board has to be plugged into the Arduino Mega 2560 microcontroller board
These requirements mean that the Otterbox Pursuit 40 watertight case has to be modified! I will explain how this can be done, but first let’s see what kind of parts are needed for this modification!
Parts
The followings are required:
- Pattex two component transparent epoxy mix with syringe
- CJMCU MS5803 14BA Pressure Sensor Breakout board
- Otterbox Pursuit 40 case
- Hook-up Wire Spool Set
The 22 AWG solid core wires are required to be able to connect the pressure sensor breakout board with the Arduino Mega 2560 microcontroller board.
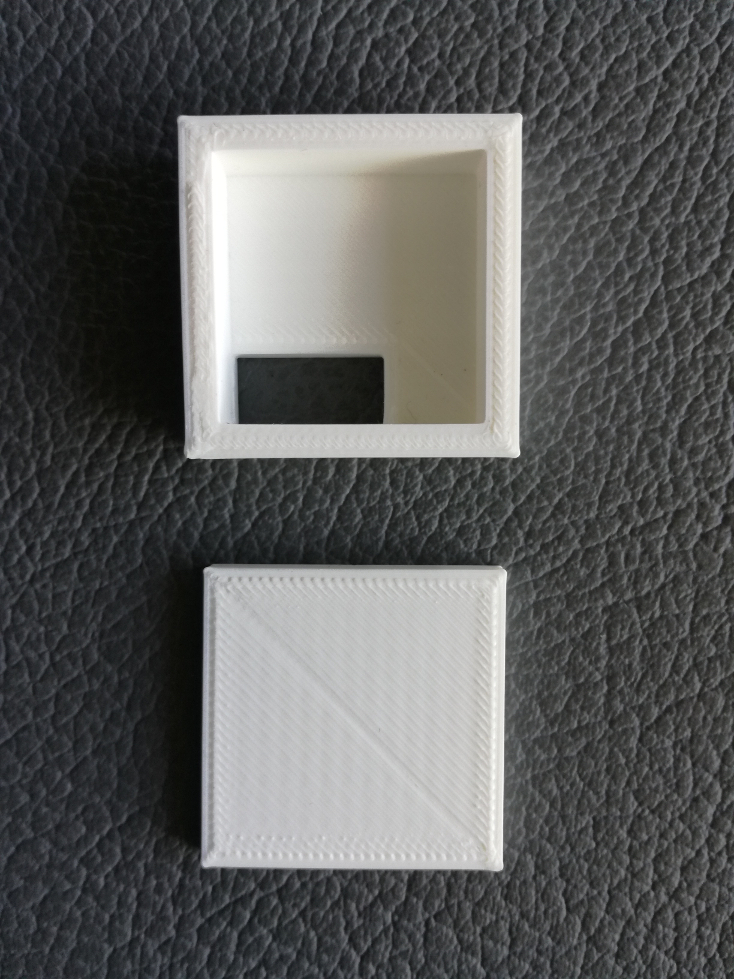
Besides that the following parts have to be 3D printed:
Modify the case
The sensor case will hold the CJMCU MS5803 14BA Pressure Sensor Breakout board:
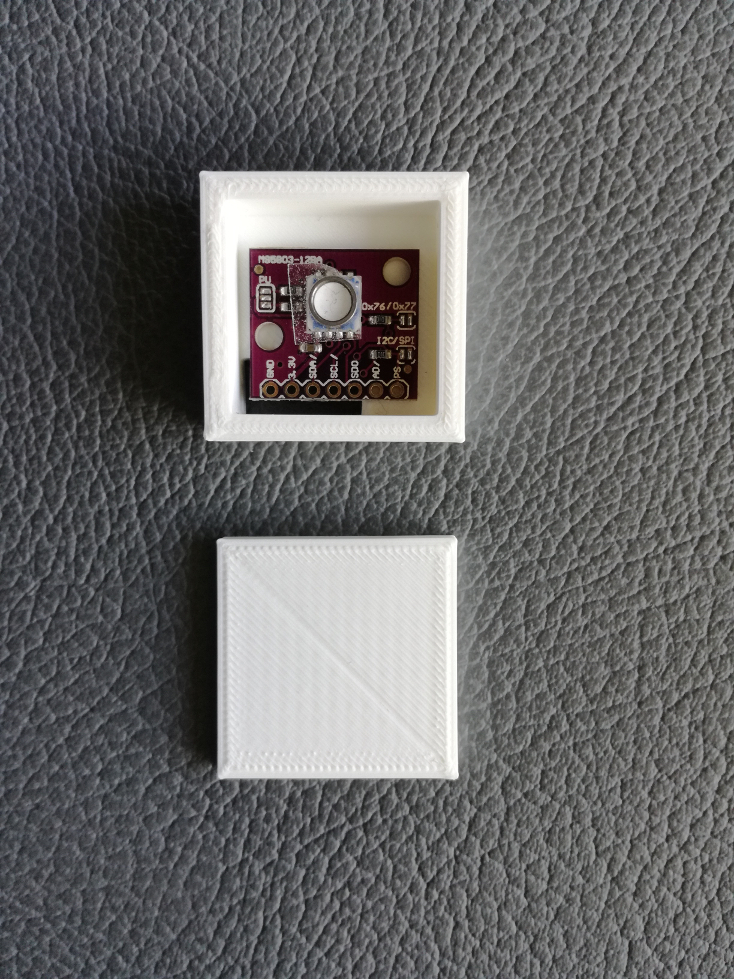
This case will be glued on top of the Otterbox Pursuit 40 watertight case. Just before it the followings have to be done:
- Cut 4 wires from the Hook-up Wire Spool Set:
.. Black wire for GND
.. Red wire for 3.3V power supply
.. Blue (or yellow) wire for SDA line of I2C communication
.. Green wire for SCL line of I2C communication - Solder these wires onto the CJMCU MS5803 14BA Pressure Sensor Breakout board
- Drill 4 holes to the wires on the Otterbox Pursuit 40 case
- Check, if the pressure sensor works and fits well into the sensor case
Seal the pressure sensor
The next step in the case assembly process is quite critical! The two component epoxy glue has to be applied to seal the pressure sensor breakout board.
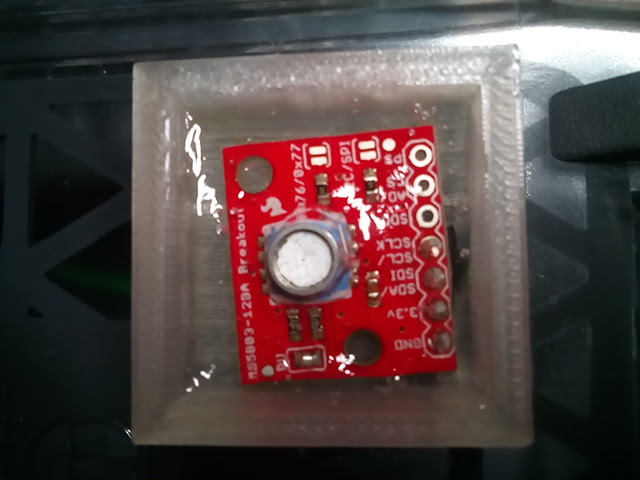
You have to do the following steps:
- Cover the pressure sensor cup with a small tape to protect it from the epoxy
- Glue the 3D printed sensor case onto the Otterbox Pursuit 40 case where the wire holes were drilled
- Place the CJMCU MS5803 14BA Pressure Sensor Breakout board into the sensor case
- Apply epoxy - it has to cover the breakout board till the top of the taped sensor cup
- Remove the tape from the sensor cup
- Wait couple of hours until the epoxy cures
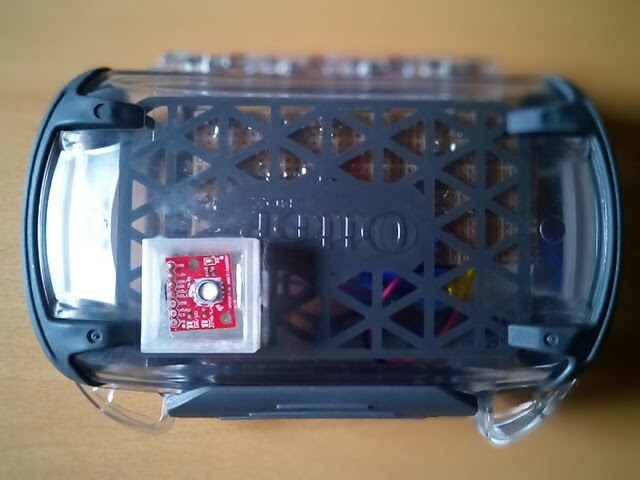
It is a good idea to test the pressure sensor now. It has to work and the sealing has to be watertight.
Place the cover
If everything seems to be fine, it is the right time to protect the CJMCU MS5803 14BA Pressure Sensor Breakout board with a cover.
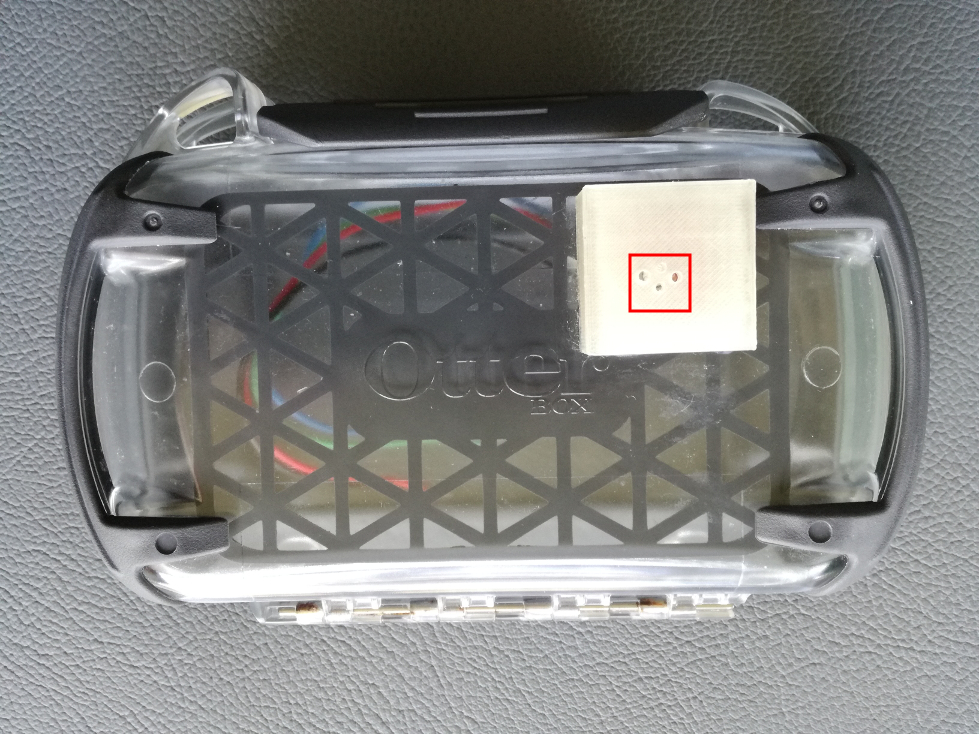
- Drill some holes into the sensor case cover to let the water in until the pressure sensor cup
- Glue the cover on top of the sensor case
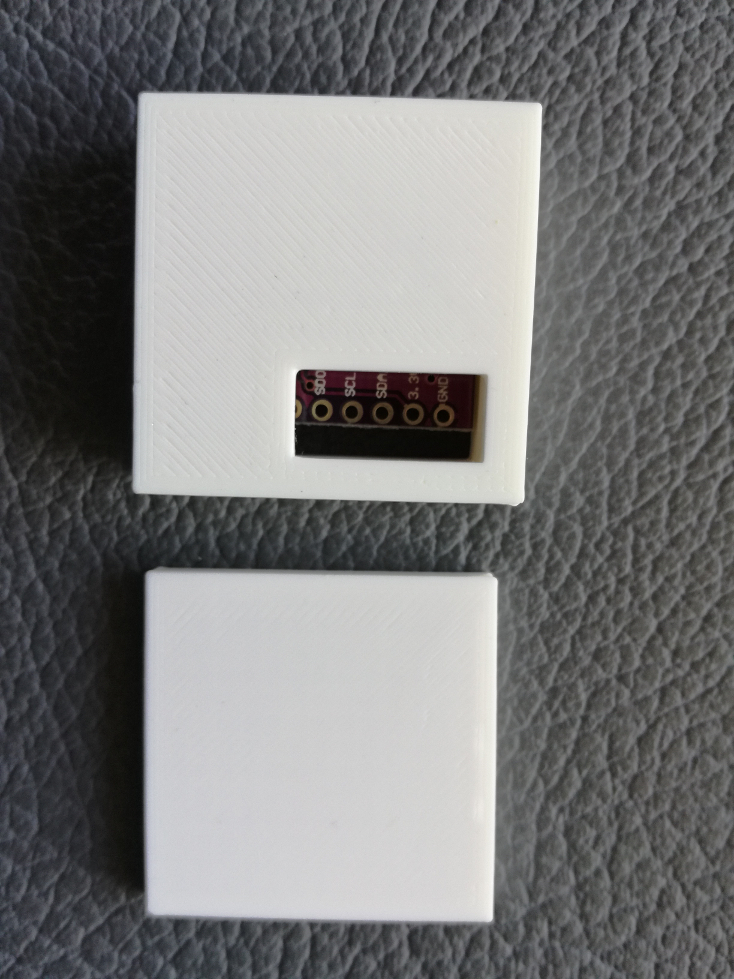
The end result will look like this from the outside:
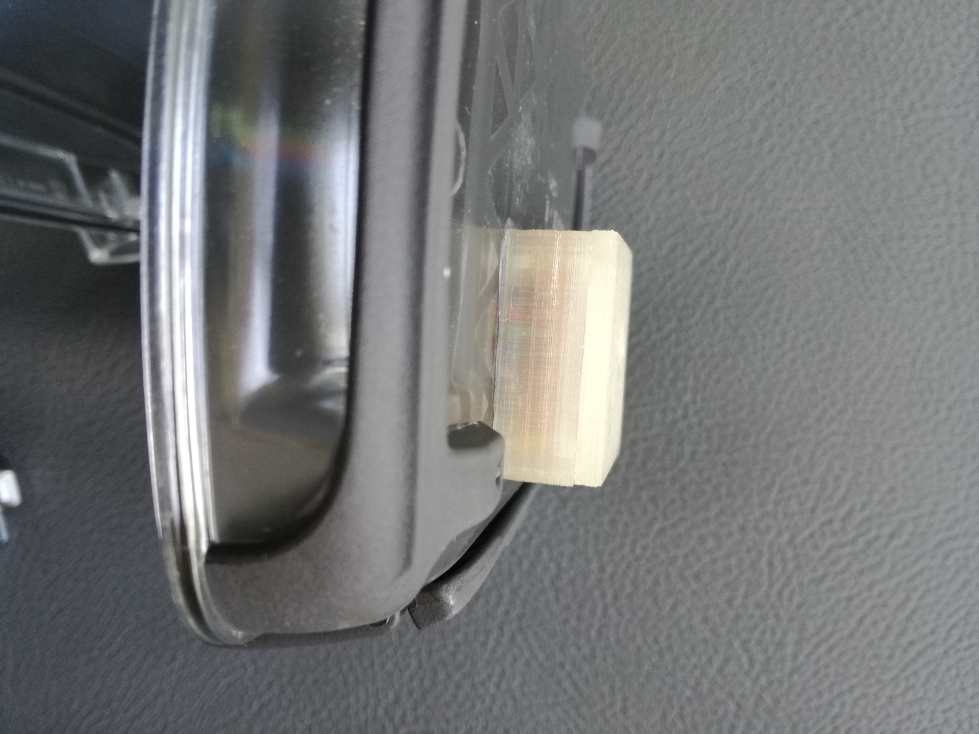
From the inside:
